F0 · The Music Room A Proposal · 4 Phases
F0 Studio A working plan Draft · Sept 2026

Let’s remakeThe Music Room

A plan to make the studio easier to use and a better place to spend time. You will not need much experience to walk in and get started.

Four phases Ergonomics · A friendly welcome · Better sound · Podcasts & cosiness
Why we’re doing this

Five aims for the room.

01

Humane

The room should be easy to learn in. If you have never opened a DAW, that is not a problem. Simple starting points will be placed around the space, and there are people at F0 who are happy to teach.

02

Easy

Everything will be labelled, so it is clear which headphones do what. Switching between sound sources, or adding a simple effect, should take seconds rather than a lengthy explanation.

03

Sociable

The studio should be a comfortable place to gather: somewhere to play, try out an idea, record, or simply sit and listen while others do.

04

On camera

It is often useful to take a photograph or record a short video. The room will have decent lighting and some podcasting equipment, ready when it is needed.

05

The music comes first

This room will never be perfect; the acoustics will not allow it. But it can be made a great deal better than it is now, and that is the aim.

01
Phase One

Planning & ergonomics

The first task is to create more space, and to make sure each piece of equipment is within reach and explained where it sits.

1.1 · Keyboards

Double-tier stands, always in reach

The main keyboards will sit on one or two double-tier stands, kept within easy reach. Those not in use will be stored vertically on the wall, out of the way.
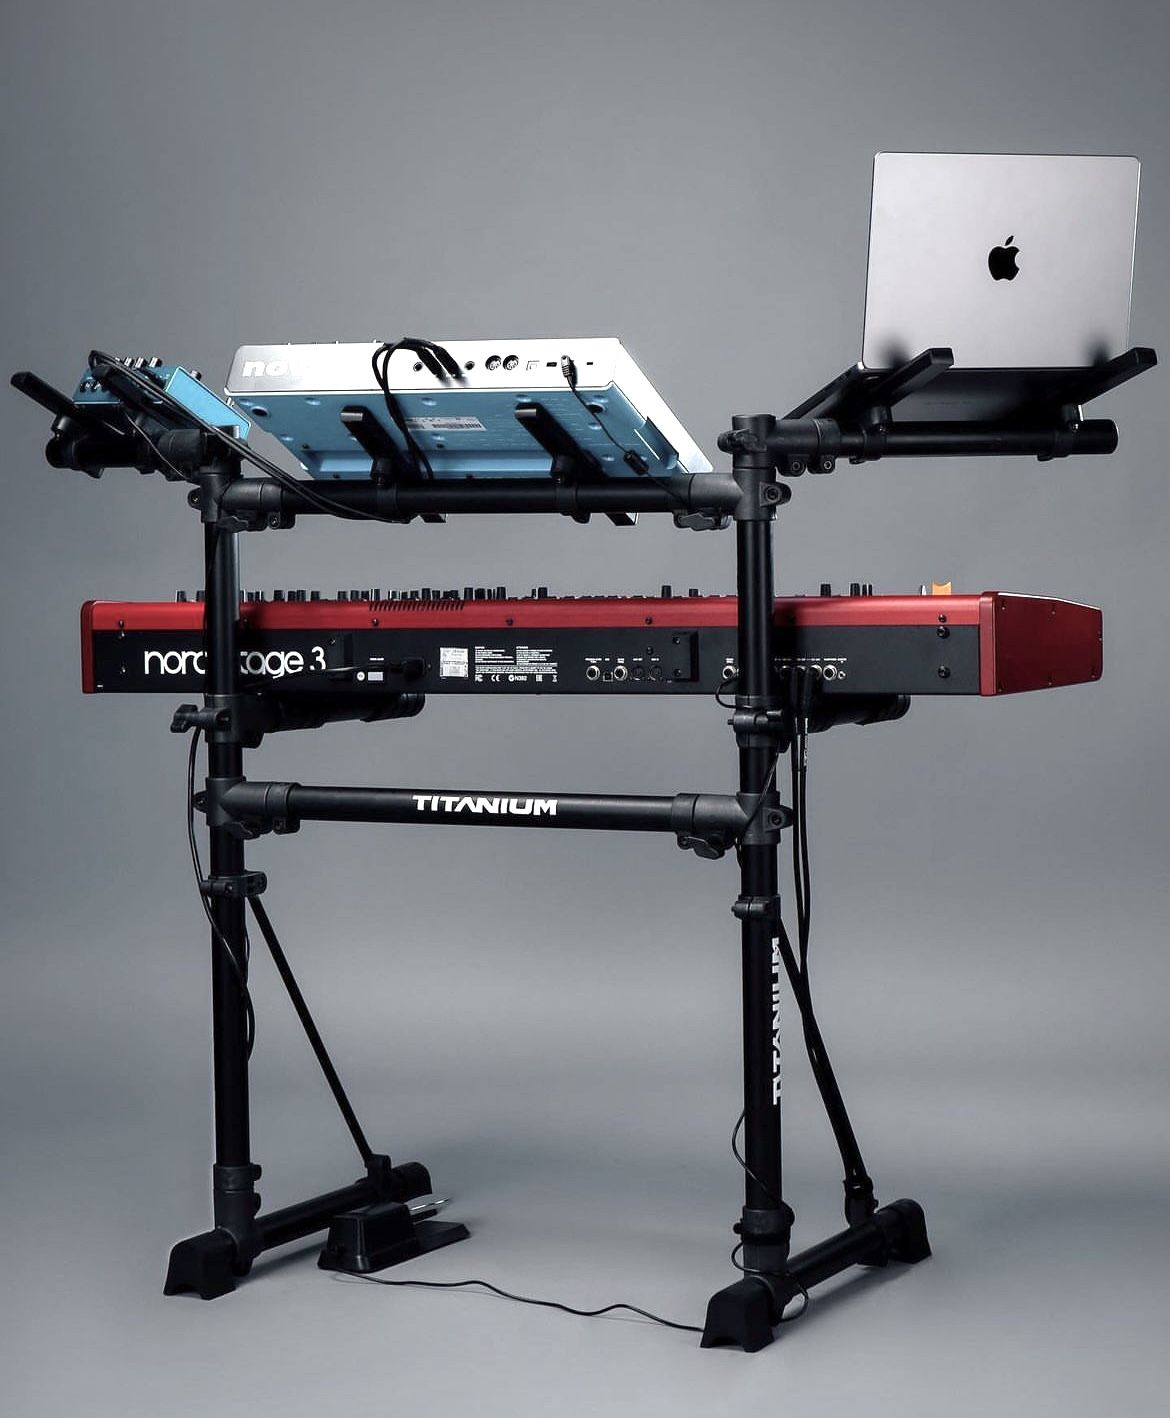
A double-tier keyboard stand holding a Nord Stage 3 on the lower tier and a synth and laptop up top
Fig. 1.1 Two tiers, with room for a laptop and synth above.
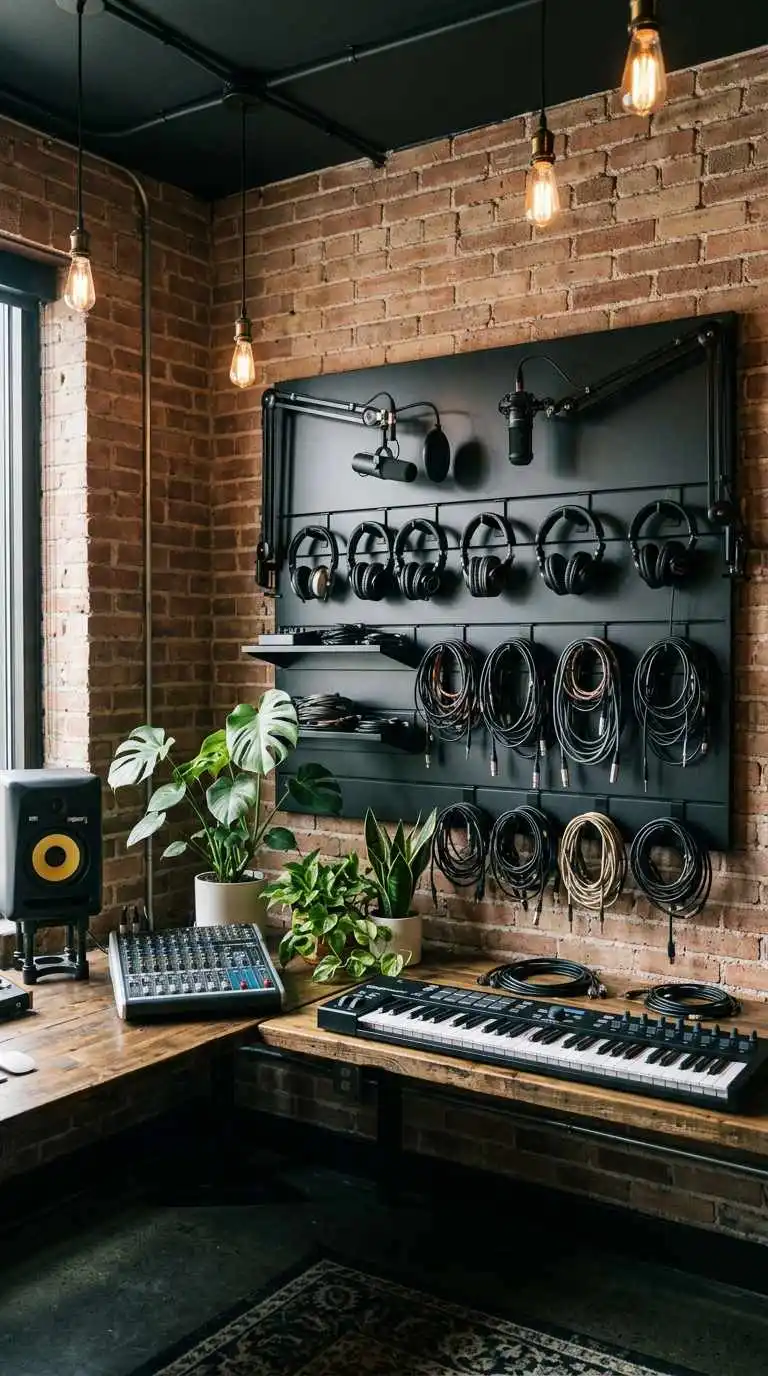
A dark panel on brick wall holding headphones, mics and coiled cables
Fig. 1.2 A hook wall keeps cables and headphones in view.
1.2 · The hook wall

Cables and headphones, all on hooks

Cables and headphones will hang in view, so it is always clear what is free to use. The board behind them also acts as an acoustic panel. It will not transform the sound, but it should help a little.

1.3 · The storage sofa

A sofa that holds the clutter

Larger items can be stored inside it, and musicians gain somewhere to sit. It also softens one corner of the room, removing the rattle of metal and plastic and helping the sound more than its size suggests.

Provided by @daletnoon
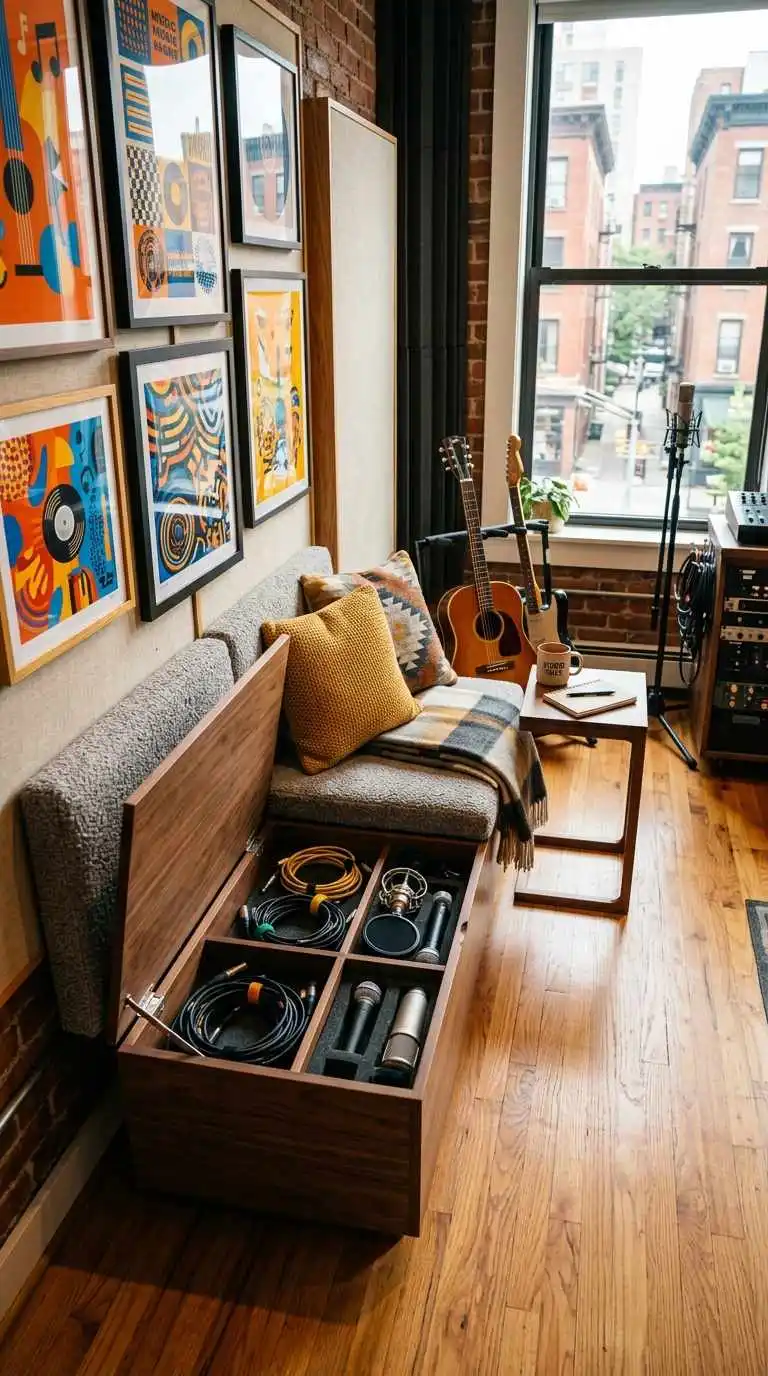
A wooden storage bench sofa opened to reveal cables and mics stored inside
Fig. 1.3 Seating, storage and acoustic softening in one piece.
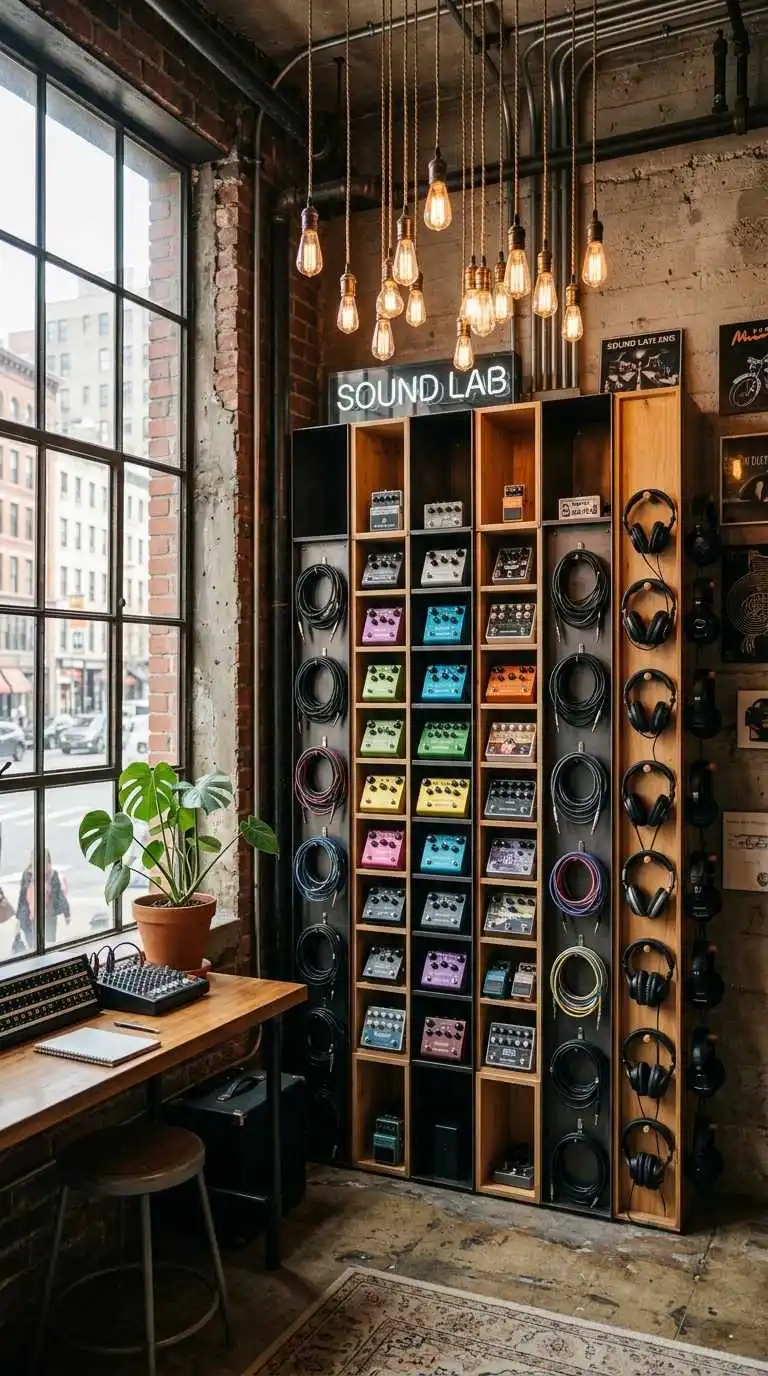
A tall shelf and hook installation holding pedals, cables and headphones
Fig. 1.4 Shelves and hooks, combined where useful.
1.4 · Small instruments

Floating shelves for quick-to-use kit

The smaller, quick-to-use instruments, such as the Teenage Engineering devices, will sit on open shelves within easy reach. A few hooks alongside them keep everything close to hand.

1.5 · Monitors

Lift the speakers above the desk

The monitor speakers will be raised above the engineer’s desk. In their current position they are of little use, and a better placement is overdue.
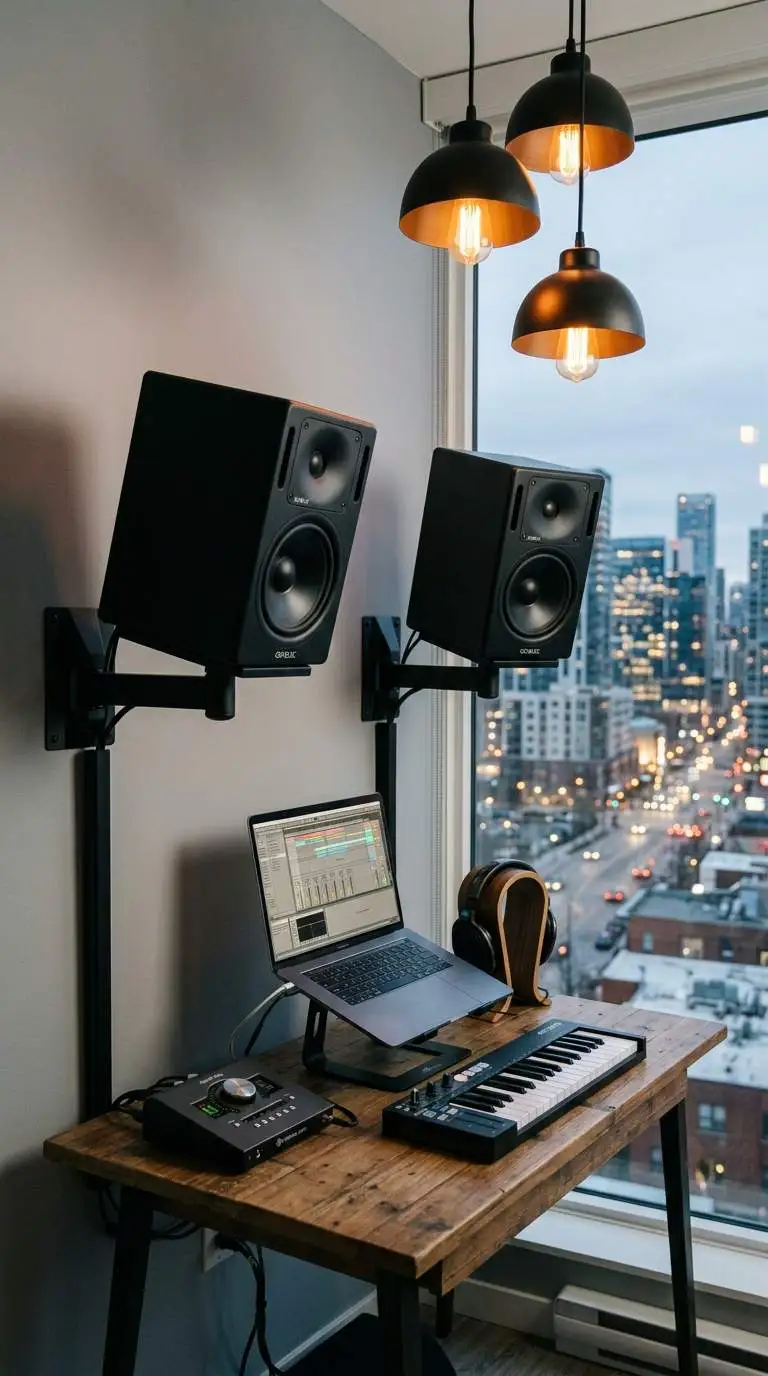
Two studio monitors on wall-mounted arms above a desk with a laptop and keyboard
Fig. 1.5 Monitors on arms, raised above the desk.
1.6 · Guitars

A guitar monorack

A single, sturdy rack will hold the guitars more safely than the present arrangement, and can be extended as the collection grows. The acoustic guitar from the lobby will join them.

1.9 · A foldable desk

Optional, and useful

A small, folding second desk for anyone bringing their own laptop. It can also hold a MIDI controller when one is needed.
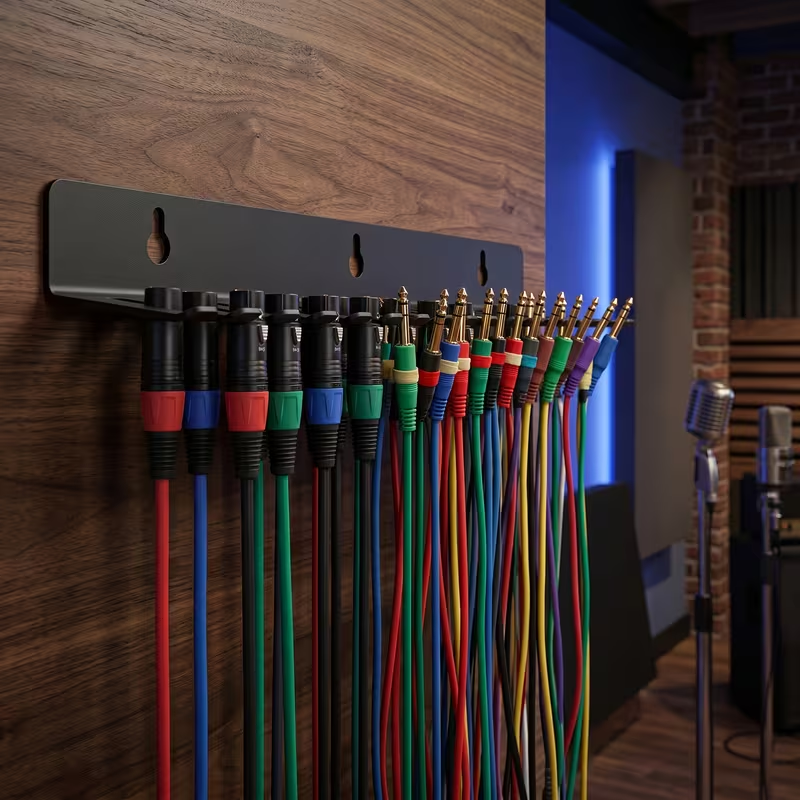
A rack holding neatly coiled patch cables ready to grab
Fig. 1.7 Cables coiled and ready to use.
1.7 · Open cables

A cable ready to hand

A few cables will be kept out, coiled and ready to use. Searching a drawer for the right lead is an easy way to lose a good take.

1.8 · Cable management

Colour-coded, and visible

This needs closer study, as the existing cabling is not yet mapped. The intention is to make the wiring visible and colour-coded, so it is clear what connects to what.
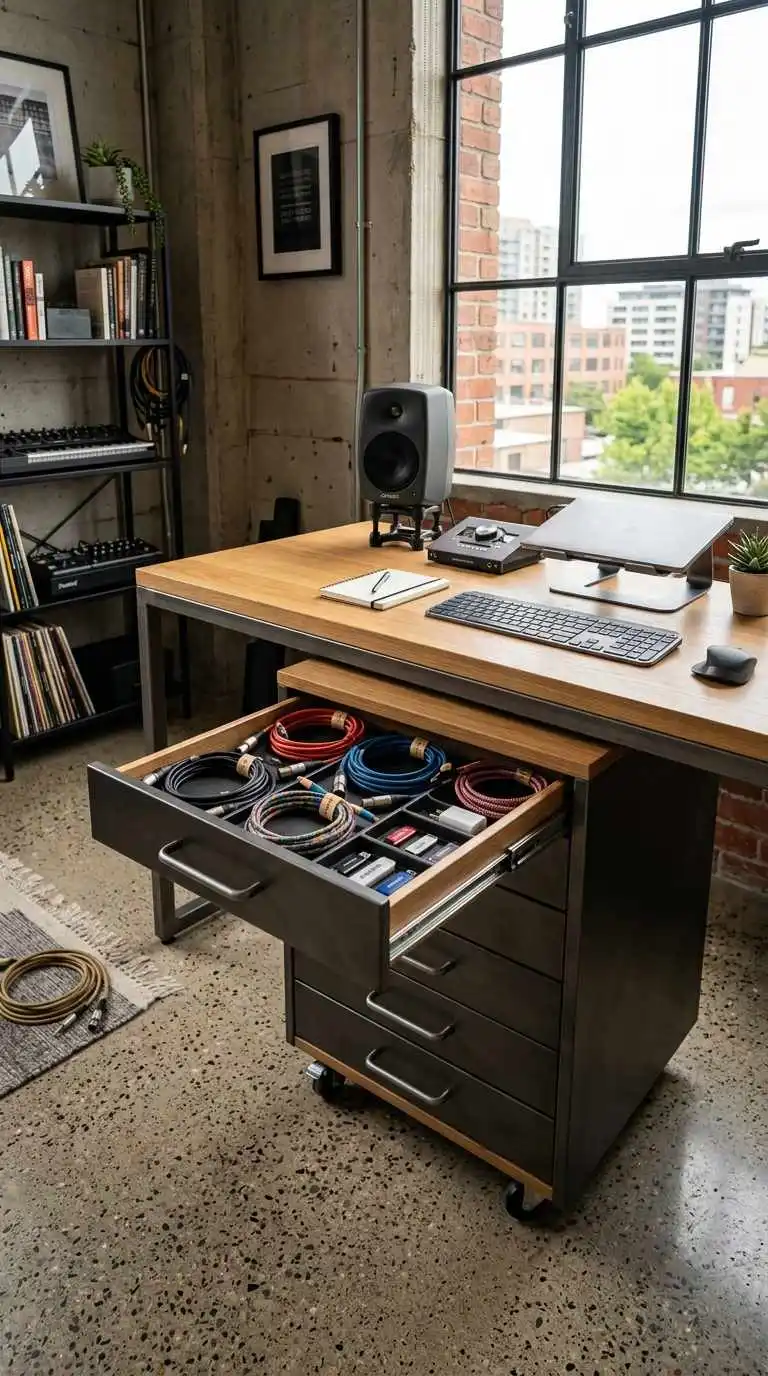
An under-desk drawer neatly holding colour-coded coiled cables
Fig. 1.8 Colour-coded cables, stored under the desk.
A note on walls

Much of this plan involves mounting equipment on the walls. That has a cost: walls rattle, so the room will never be perfectly quiet for recording. It is a trade-off, and one worth accepting.

By the end of this phase, the studio should be well organised and correctly reconnected.
02
Phase Two

A friendly welcome

The next stage is about welcoming people in, so that a newcomer can find their way around without needing to ask first.

2.1 · Labels

Quick instructions on every piece

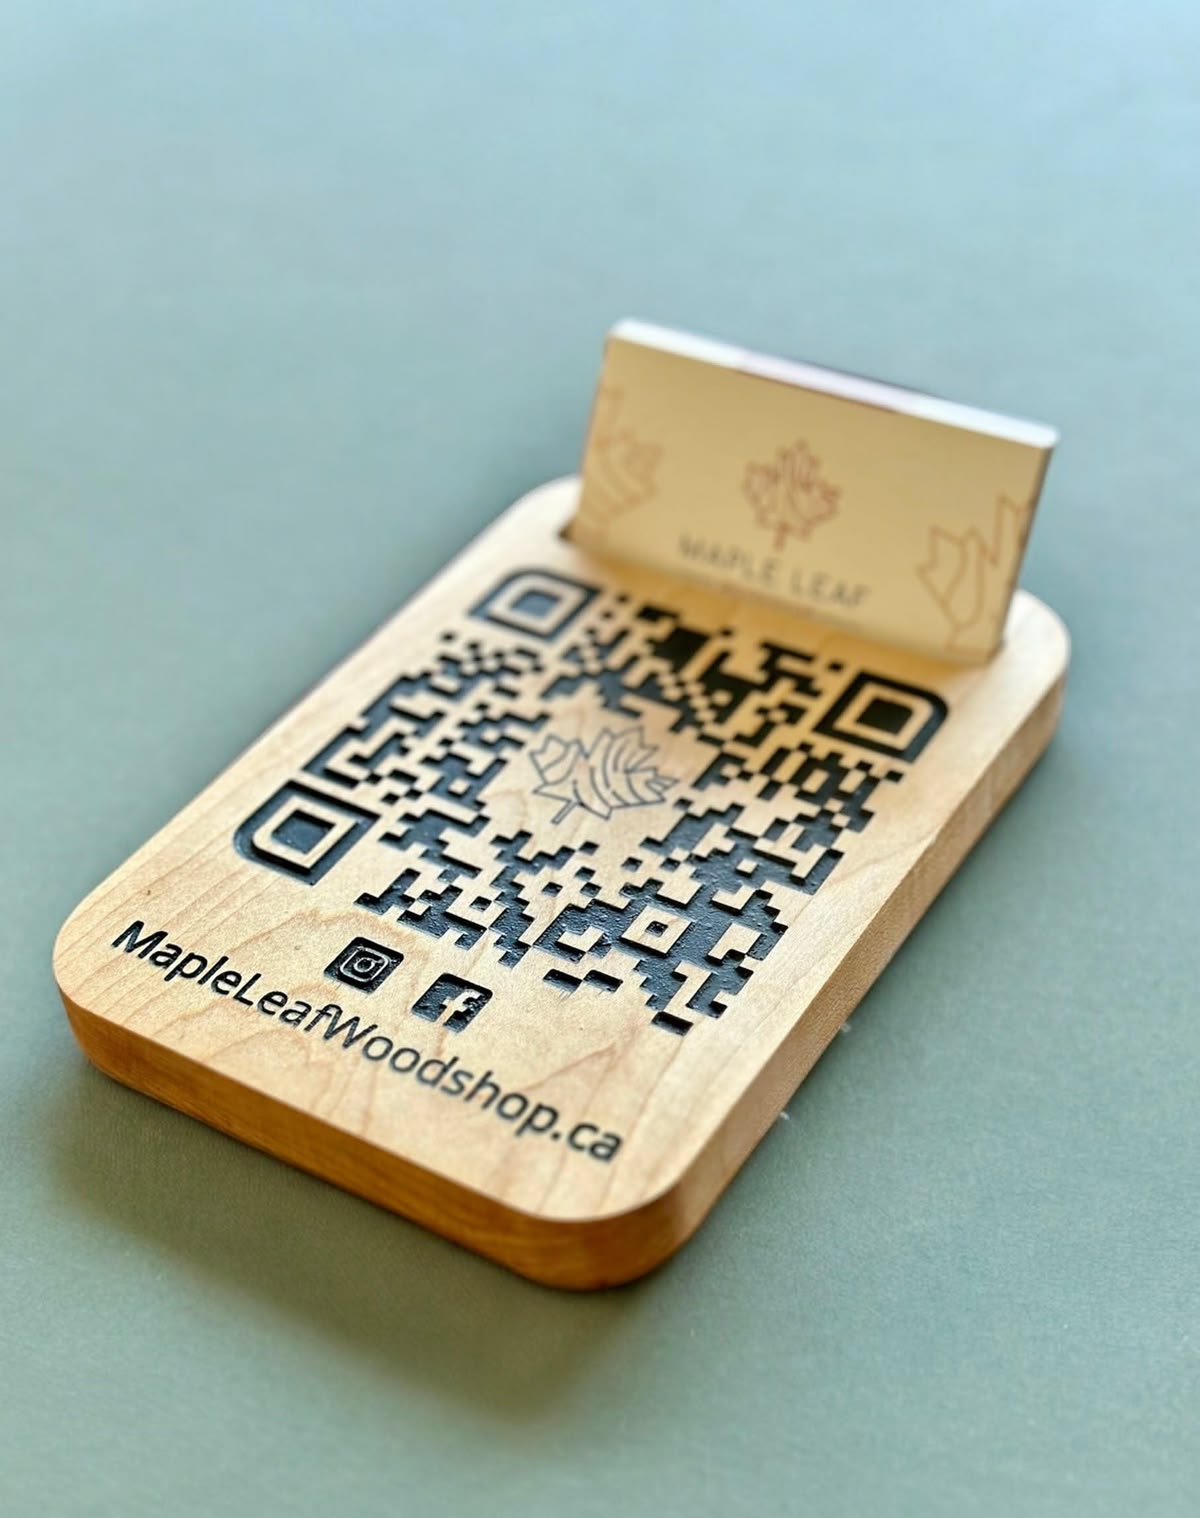
Each important piece of equipment will carry a small label covering its most common uses. A QR code on the label links to the full manual as a PDF.

A wooden stand with an engraved QR code and a card holder
Fig. 2.1 A QR code links to the full manual.
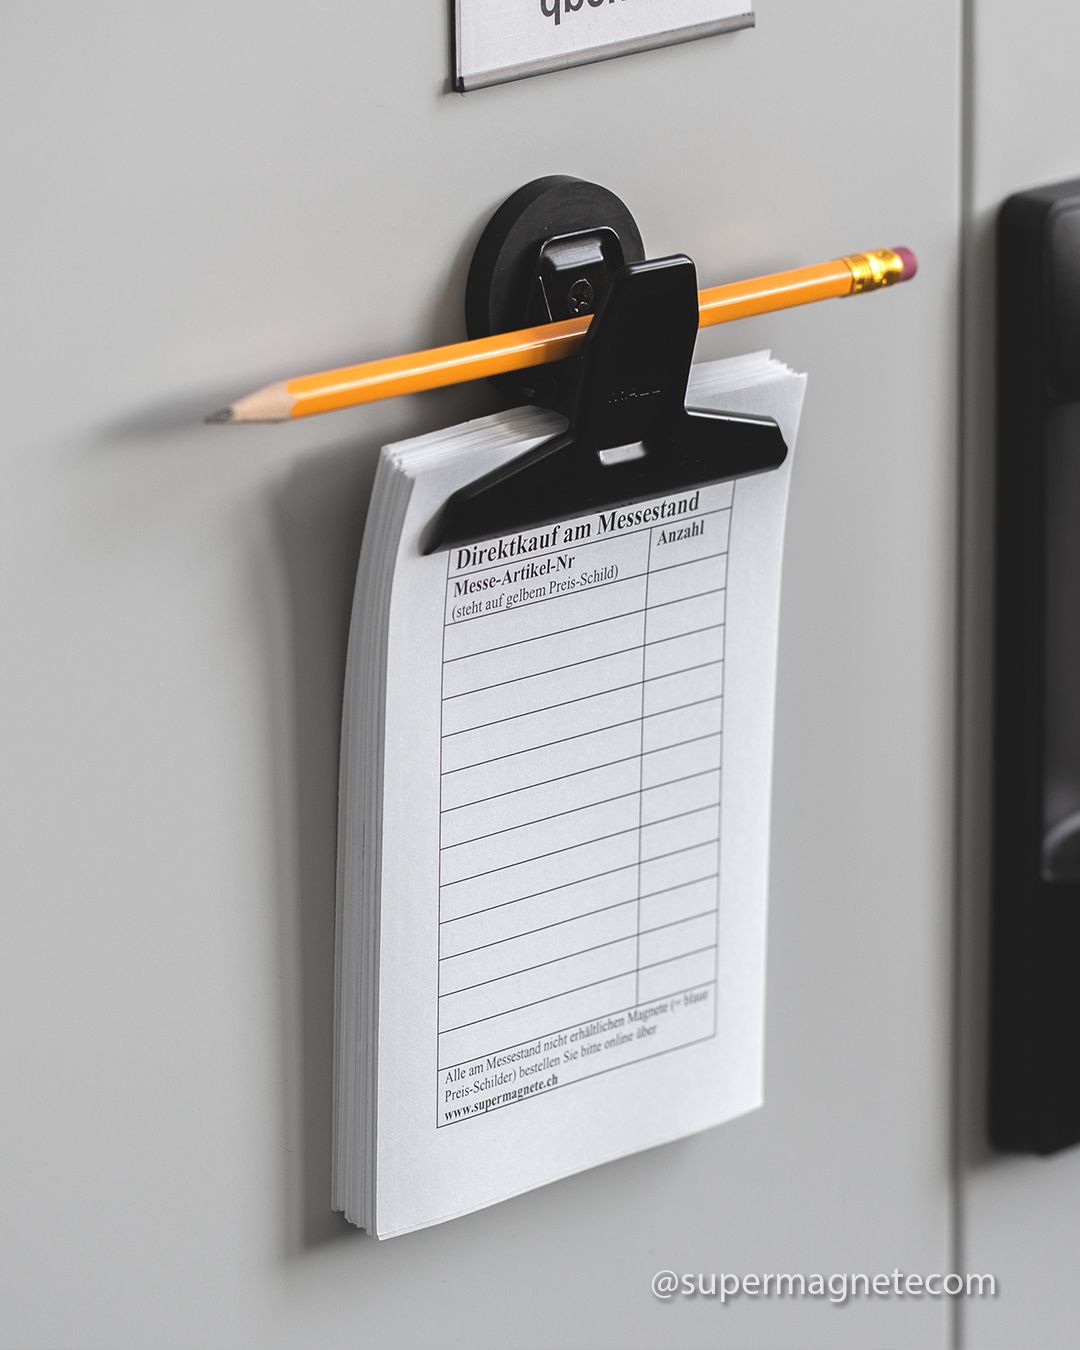
A magnetic clip on a wall holding a printed pad and a pencil
Fig. 2.2 A short manual, kept to hand.
2.2 · Onboarding doc

Where to begin, all in one place

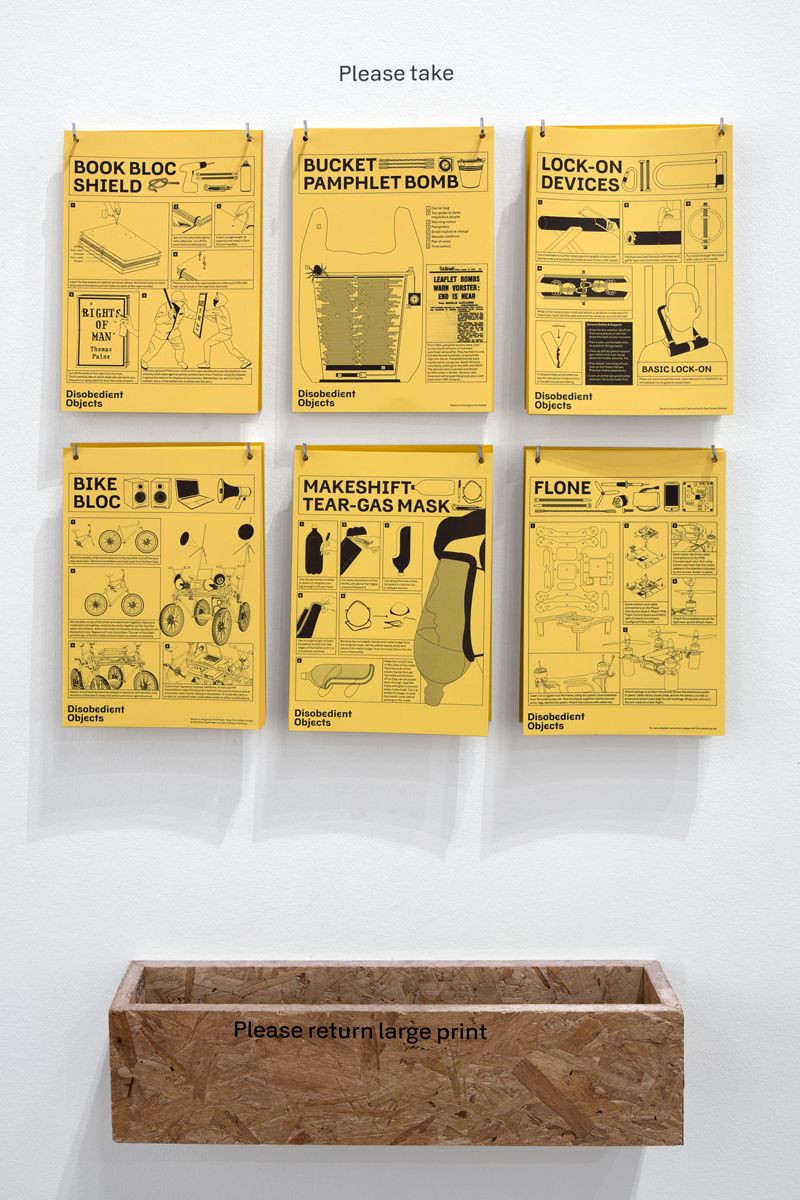
A single guide will point newcomers to the best starting points for sound, recording and DAWs, with links to useful videos. The engineer’s desk will have its own short manual.

A grid of yellow instructional how-to posters on a wall, headed Please take
Fig. 2.3 Clear, printed instructions people can take and follow.
2.3 · Posters

Invitations on the wall

A few posters around the room. One introduces the F0 members who are glad to answer questions. Another highlights some of the more unusual equipment, such as the effects processors and controllers, and invites people to try it.

2.4 · Documented

Everything written down

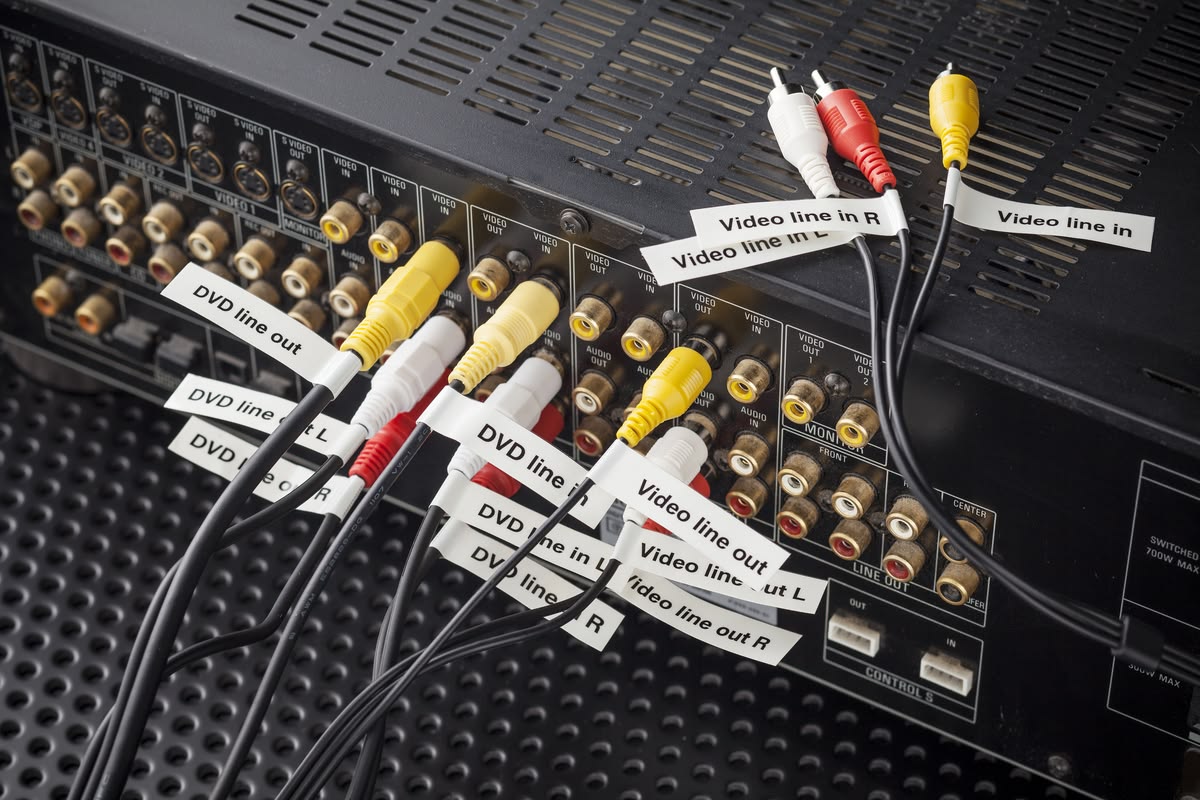
The cabling, written down for good this time. And everyone gets their own folder on the studio computer, so your projects have somewhere to live between sessions.

The back of an audio device with each cable clearly labelled
Fig. 2.4 Labelled ins and outs, so no more guessing.

With this in place, a newcomer can find their feet, record a first take, and play alongside others.

03
Phase Three

Better sound

There is a limit to what can be done in a room like this. Even so, a few practical steps are worth taking.

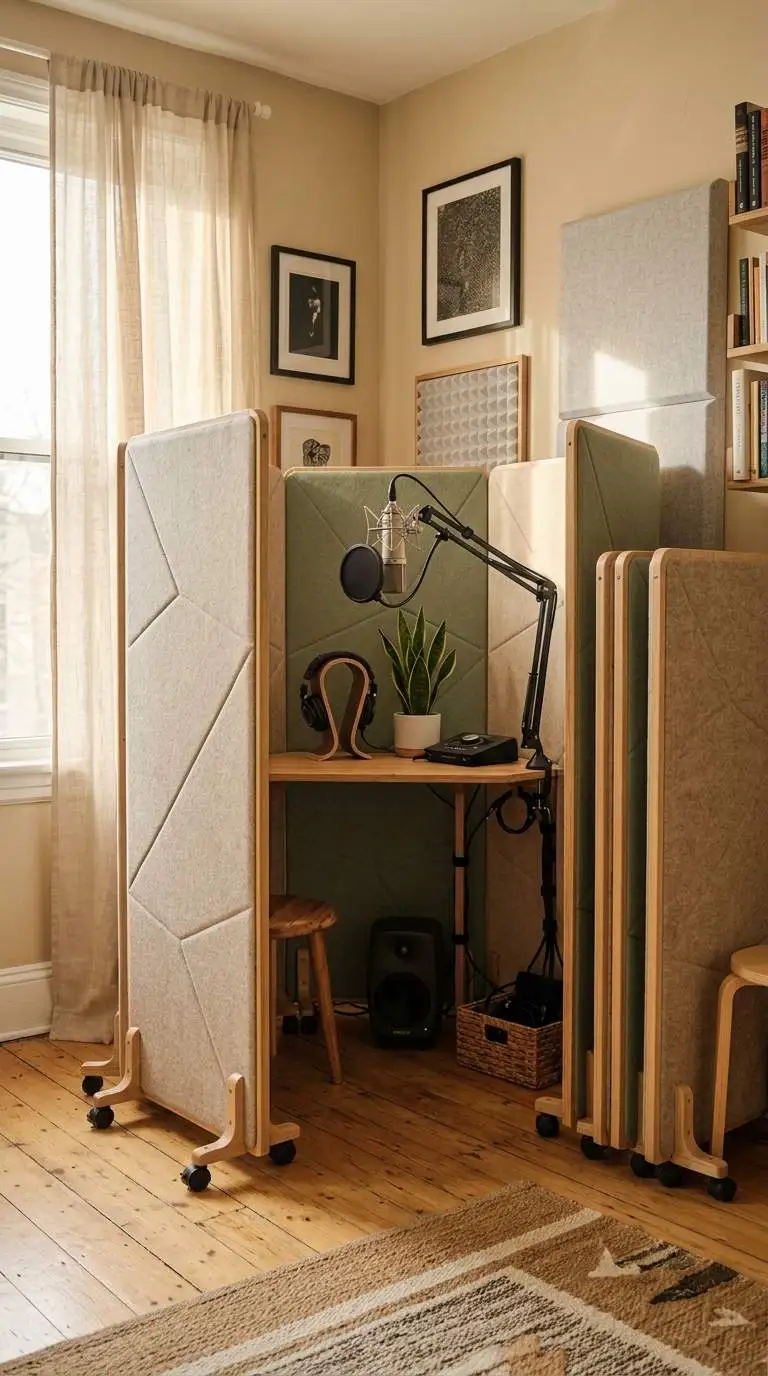
Foldable acoustic panels on castors forming a small vocal booth in a corner
Fig. 3.1 Panels roll in around the singer or podcaster.
3.1 · Acoustic panels

Foldable panels where they’re needed

These will stand where the singer or podcaster works, the part of the room that needs the most isolation, as it usually holds the only open microphone. When it is not in use, the same corner serves as a booth for video calls.

Provided by @daletnoon

3.2

Proper monitoring headphones

A good pair, most likely Audio-Technica, again provided by @daletnoon. Mixing on speakers is not really possible in this room, so the headphones matter a great deal.

3.3

Guitar processors, in 10 seconds

It should take no more than about ten seconds to switch on a guitar effect and carry on playing. If it takes longer, most people simply will not use it.

3.4

Maybe a better mic

Possibly. This is a decision worth discussing together rather than settling alone.

04
Phase Four

Podcasts & cosiness

The final stage is about comfort, and making the studio a place people want to stay.

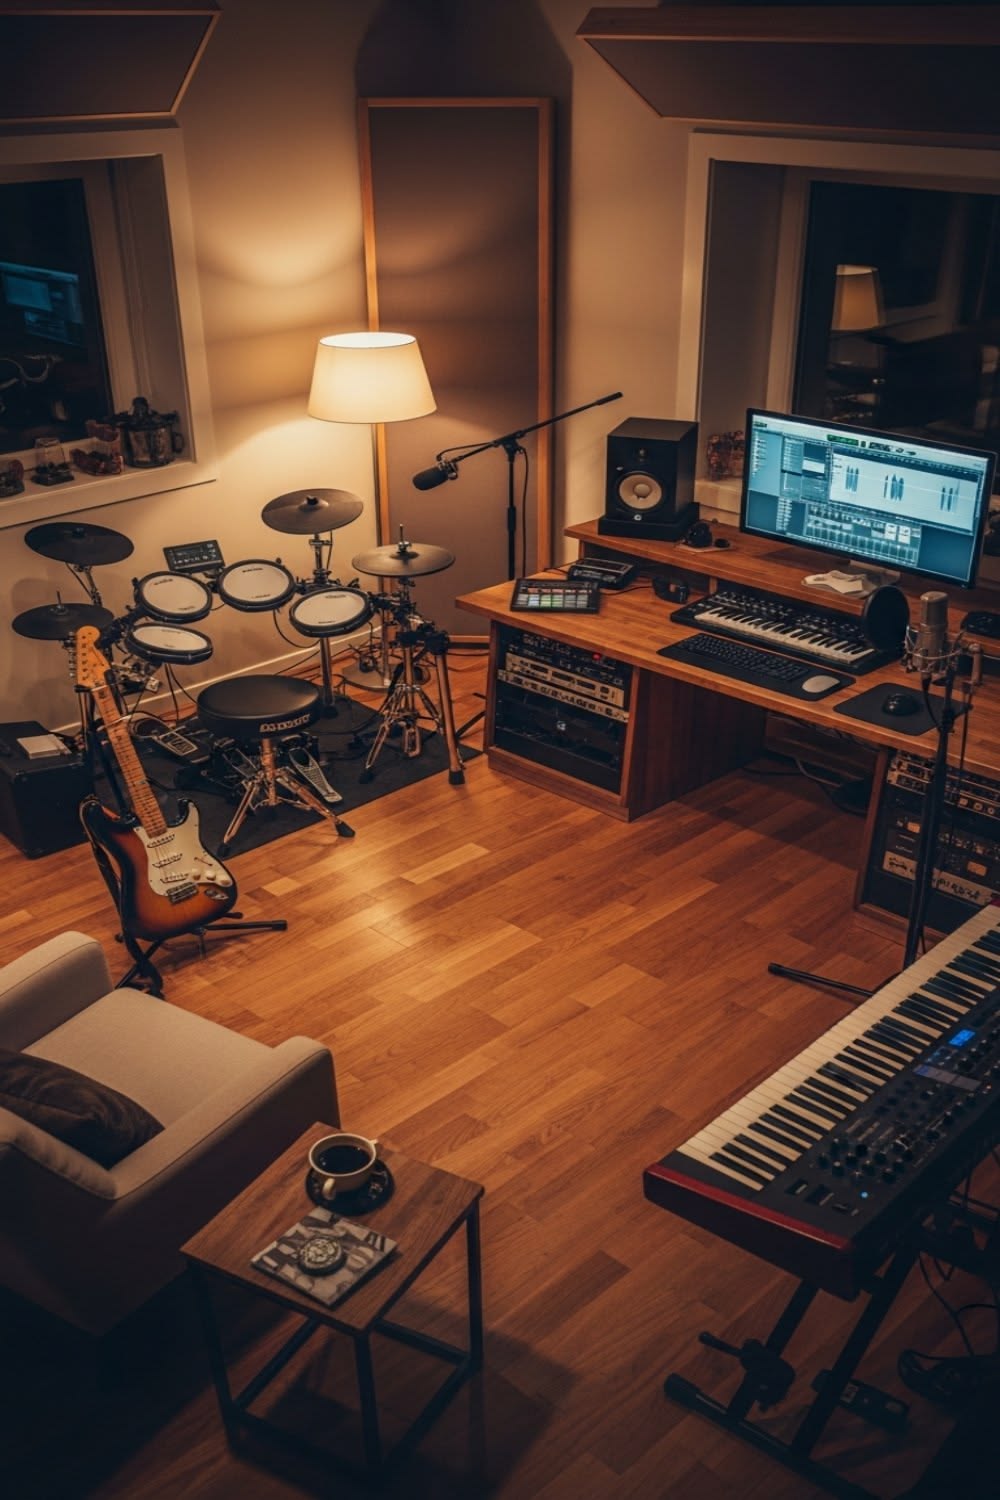
A warm studio corner lit by a single floor lamp, with an electronic drum kit, guitar and a sofa
Fig. 4.1 A single lamp changes the mood of the room after dark.
4.1 · Local lights

Soft light in the corners

A few warm lamps around the room, rather than a single overhead light. It is a small change, but it makes a noticeable difference in the evening.

4.2

Lighting for videocasts

One or two wall-mounted lights for filming, so that anyone on camera is lit properly.

4.3

Probably a better chair

Probably. A better chair makes a long session considerably more bearable.

That’s the plan.

With thanksSofa, acoustic panels and headphones, all provided by @daletnoon
AudienceAnd, reliably, @daletnoon
StatusA working draft, open to comment